Studio lighting exercise (Assessment 2 second favourite) 11/03/19
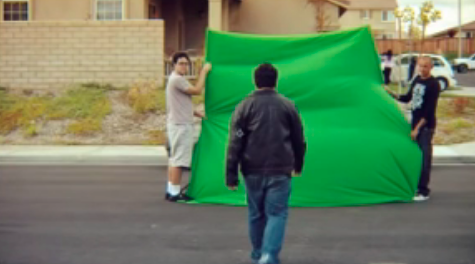
Manipulating lighting exposer to create satisfactory presentation scenery with the using colour shape and contrast. I learned that the human eye perspective sees than the perspective of the camera, because we see more megapixels then a camera does.
In the lab, we experiment with different studio light equipment such as the bar doors and monolights.
Car hit lab sheet (Assessment 2 first favourite) 25/02/19
I started with two videos, I put the moving car video in the background and cropped the man walking by using the pen tool. Once I did that I then when on to effects and presets selected “colour key” to get rid of the green screen, then I used the “simple choker” to get rid of the green line around the man.
Then a used the keyframe and the move tool to illustrate the person getting hit by the oncoming car.


Merge to HDR pro 08/01/19
On the 8th of January, i have worked with different types of photo exposure variations. I have used a tool called Merge to HDR Pro, where it put normal over and underexposed photos, to be able to customise the detail and amount of exposer you want.
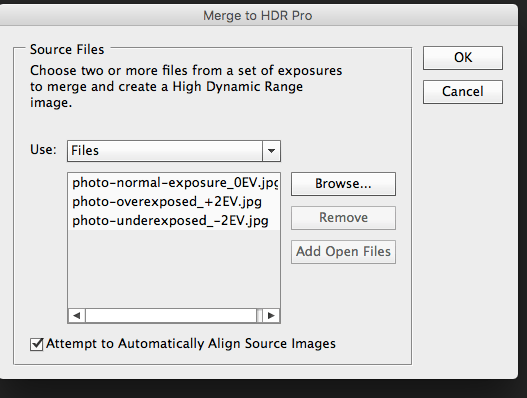
Here I have gone on file > Automate > Merge To HDP Pro where find the merge to HDR window, I browsed found and selected the photos and add them into Photoshop.
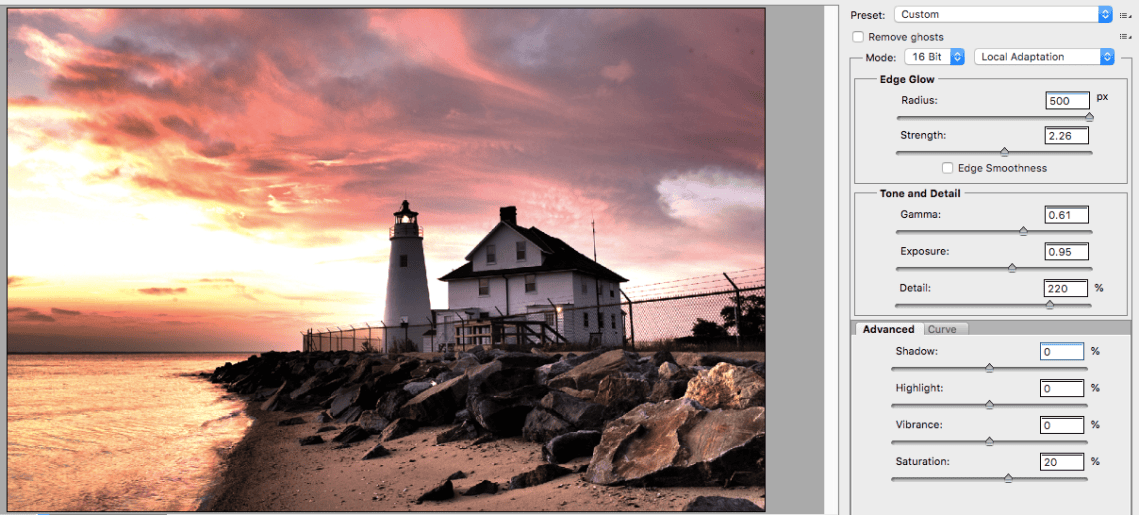
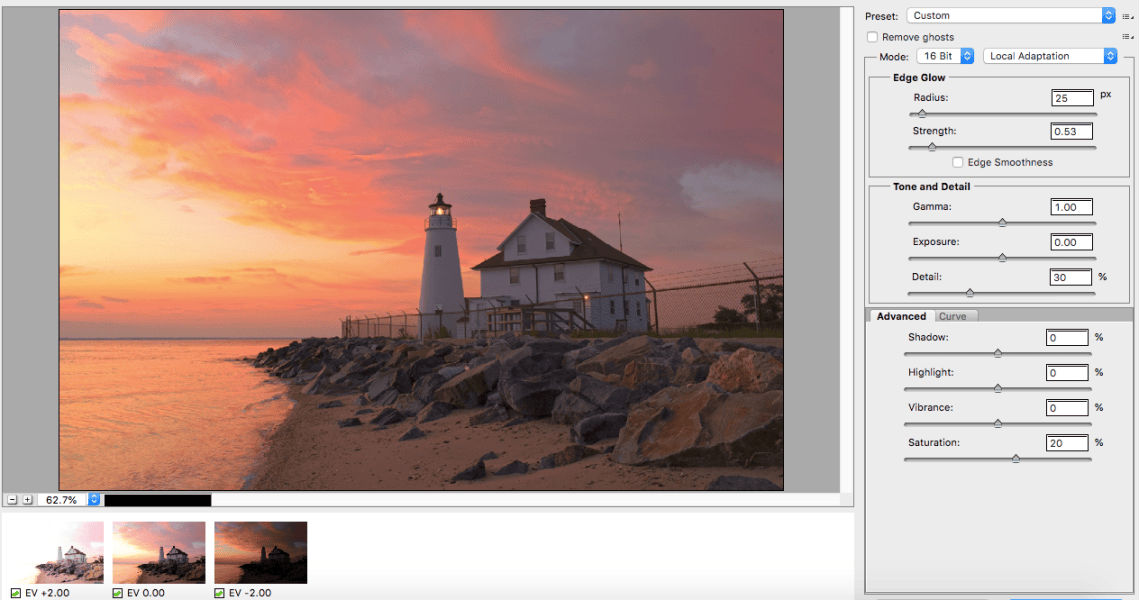
This is the result of adding from pressing the “OK” button, Photoshop now gives me manipulation over edge glow, tone and detail and advanced options.
This is the end result of improvising with the settings.
Panoramic Image with Photomerge 07/01/19
Here I have 7 separate photos of a field, I am planning to use Photomerge, where It puts together seven photos into one.
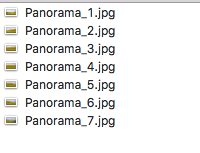
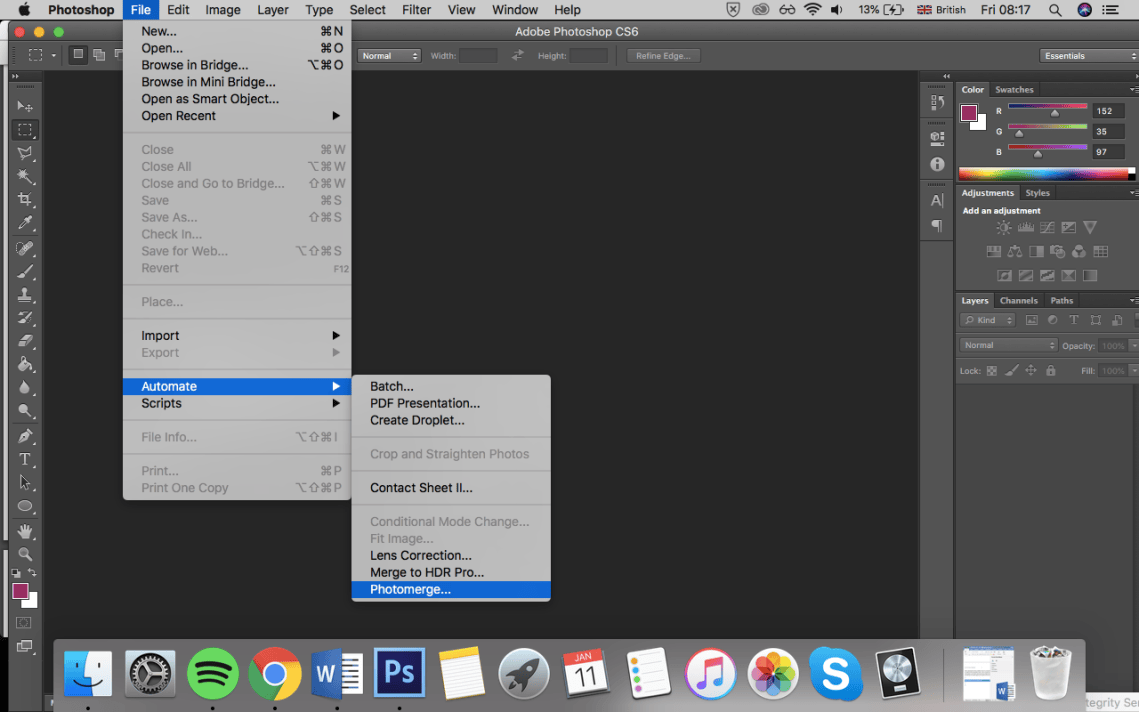
Here I went on file > Automate > Photomerge to insert the seven photos in.
I went on browse found and selected the photo to merge with to make a panoramic photo.
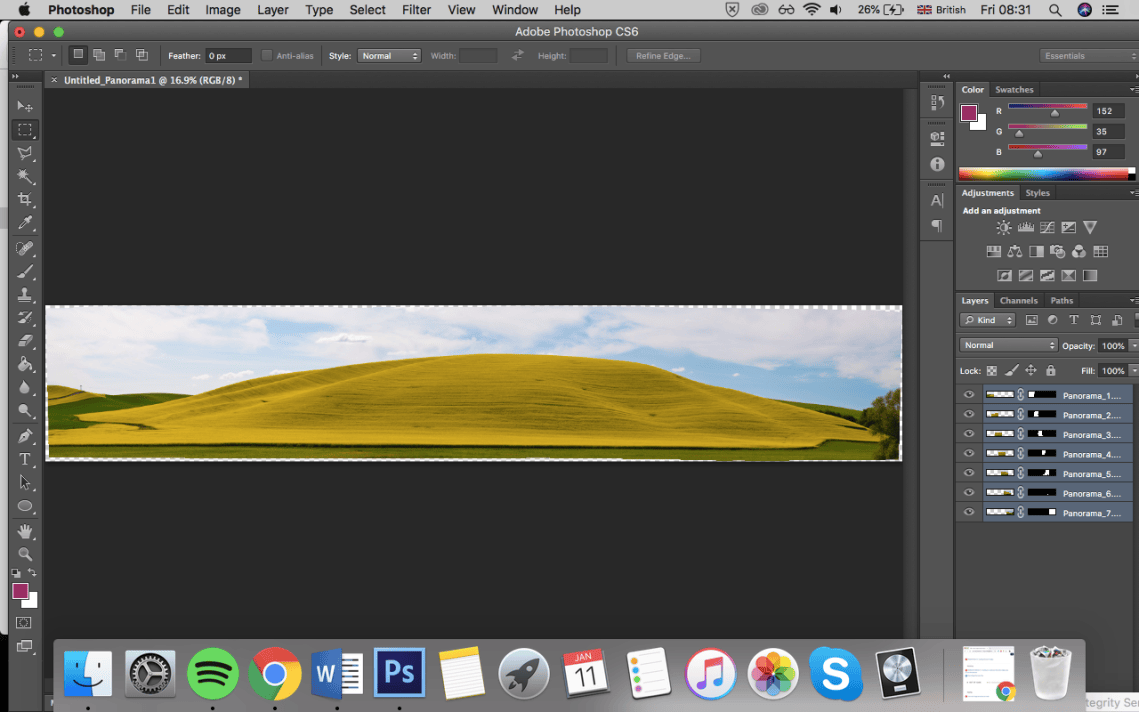
After pressing the “OK” button, this is the end result.
I have been doing some exercises on how to operate a high tech DSLR camera, also using software such as Adobe Bridge and Adobe Lightroom.
I connect the DSLR via USB into the computer using an open source software called DigiCamControl which can manipulate the camera, here is a picture of the camera pointing at the monitor causing a reflection.
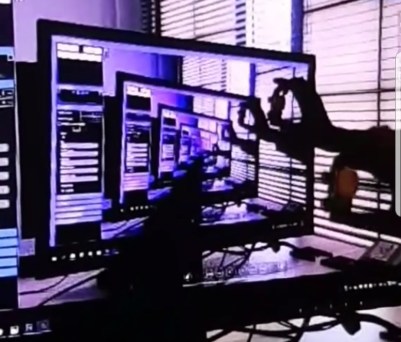
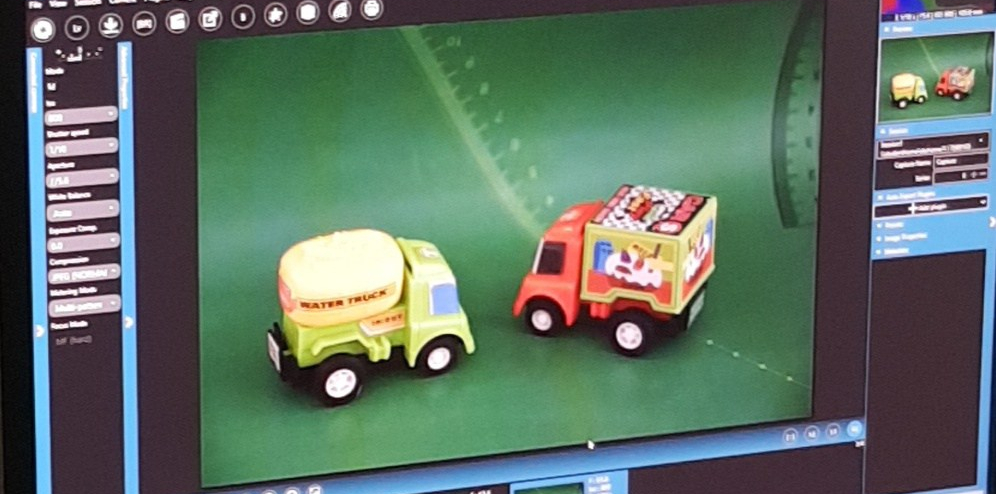
We also try to control the light intake form a camera we would use the lens to adjust the amount of exposure of light coming into the camera. With the DigiCamControl software, I was able to tweak the shutter speed, aperture, compression, metering and focus modes.
We have been giving a green paper and an object in front of it, the objective was to focus on the object without losing focus due to the green background.
Here the end results below.
I have started practising using Photoshop in a lesson, I have used one of my past work and started to practise on learning new tool such as clone tool.
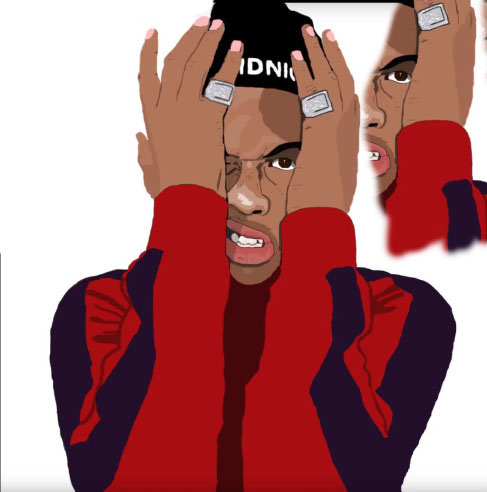
As shown I have included another ring of the other side of his hand and also cloned half of his face in the background, just get the feel of the tool.


